You can’t simply plant in spring and hope for the best—transitioning your outdoor space seasonally demands intentional strategy and consistent effort. You’ll need to assess soil conditions, establish pollinator habitats, and implement water management systems that carry through winter. Your garden’s success hinges on understanding what each season demands. What happens when you skip essential preparation steps? The consequences unfold throughout the year.
Spring Planting and Preparation
When should you begin preparing your outdoor space for spring growth? You’ll want to start in early spring once soil temperatures reach 50°F consistently. Begin by evaluating your garden’s condition and implementing spring crop rotation to prevent soil depletion and disease buildup. Rotate plant families systematically across different bed zones based on last year’s placements.
Start garden journaling to document your rotation schedule, planting dates, and seasonal observations. This systematic record-keeping enables you to track patterns and optimize future plantings. Prepare beds by amending soil with compost, testing pH levels, and clearing debris. Harden off seedlings gradually if you’ve started them indoors. Direct sow cool-season crops like peas, spinach, and lettuce once soil’s workable. Your meticulous preparation now establishes the foundation for productive seasonal growth.


Clean Beds of Debris
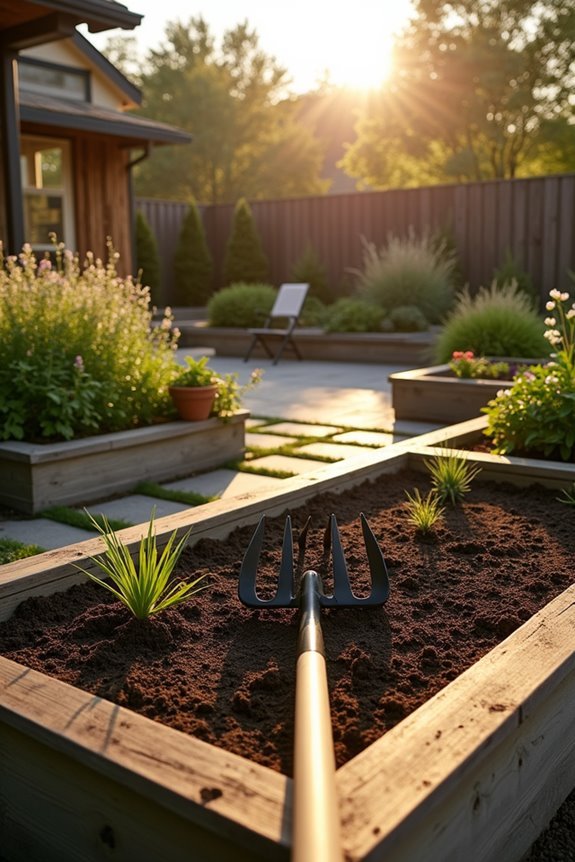
Three critical tasks comprise effective bed cleaning: removing accumulated leaves and organic matter, clearing perennial weeds and their root systems, and eliminating any diseased plant material from the previous season.
You’ll want to start your debris removal by raking thoroughly, ensuring you’ve extracted all decomposed material that’ll harbor pests and pathogens. Use a garden fork to dig out stubborn weeds, getting below the soil surface to eliminate root systems completely. This prevents regrowth throughout spring.
Next, you’ll inspect remaining plant structures for disease signs—discolored patches, fungal growth, or unusual lesions. Remove compromised material entirely and dispose of it separately from compost.
Finally, you’ll rake the beds smooth, creating an even planting surface. This systematic garden cleanliness approach establishes ideal conditions for healthy spring growth and prevents disease transmission to new plantings.


Prune Dead Winter Growth
Identifying and removing dead winter growth requires careful inspection of your garden beds to distinguish between dormant plants and genuinely damaged tissue. You’ll want to examine stems, branches, and foliage closely for discoloration, brittleness, and lack of flexibility.
Employ proper pruning techniques by cutting back dead wood to the nearest healthy bud or branch collar. Make clean cuts at forty-five-degree angles to encourage healing and prevent disease entry. Remove all diseased material and dispose of it properly—don’t compost potentially infected debris.
Winter maintenance involves systematic assessment throughout your landscape. You should prioritize spring bloomers first, as they’ll benefit most from early pruning. Address shrubs and perennials methodically, working methodically through each bed. This disciplined approach guarantees thorough coverage and promotes vigorous spring growth.


Refresh Mulch and Soil
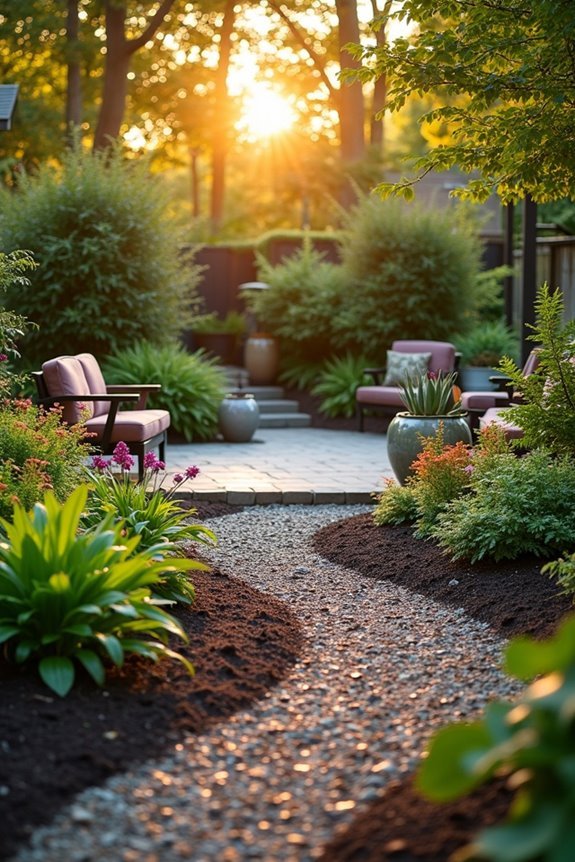
After you’ve cleared away dead growth and tidied your beds, you’ll want to assess your mulch and soil conditions. Examine your existing mulch layer for decomposition and compaction, replacing it as needed. Consider various mulch types—wood chips, shredded bark, or straw—based on your plants’ requirements and drainage needs.
Test your soil’s pH, nutrient content, and structure. Most ornamental beds benefit from 2-3 inches of fresh mulch annually. Incorporate organic matter to improve soil benefits, including moisture retention, nutrient availability, and microbial activity. If drainage appears problematic, amend with compost or perlite. For nutrient-depleted areas, apply a balanced fertilizer or slow-release formula before mulching. This systematic approach guarantees ideal growing conditions for the upcoming season.


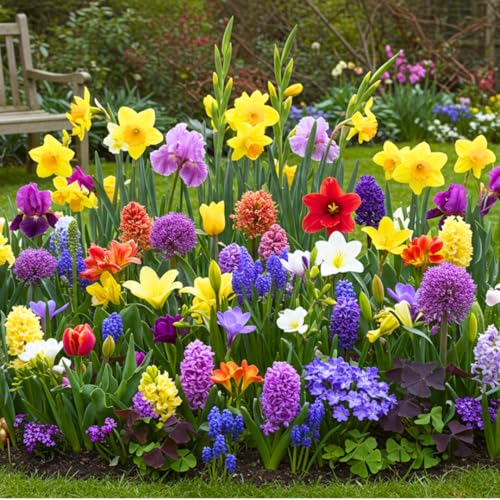
Plant Spring Bulbs and Seeds

As soil temperatures stabilize and frost danger diminishes, you’ll want to select and plant spring bulbs and seeds suited to your climate zone and light conditions. Research bulb types—tulips, daffodils, crocuses, and hyacinths—determining which thrive in your region. For seed selection, choose varieties matching your garden’s sunlight exposure and soil composition. Plant bulbs at depths equal to three times their height, spacing them according to mature size specifications. Distribute seeds evenly across prepared beds, pressing them firmly into soil. Water thoroughly after planting to establish initial root development. Label all plantings systematically to track varieties and locations. This methodical approach guarantees ideal germination rates and spring flowering success. Monitor moisture levels consistently throughout the establishment period.

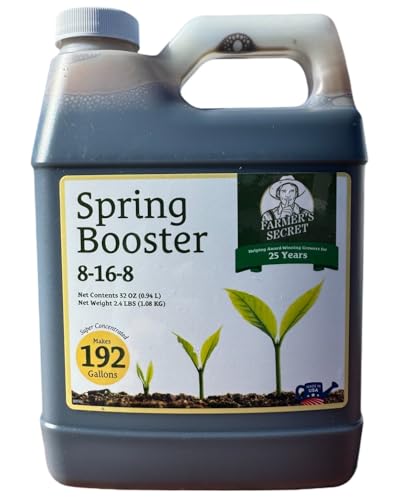
Add Early Spring Fertilizer
Once your newly planted bulbs and seeds establish themselves, you’ll need to supply essential nutrients that support vigorous growth and flowering. Early spring fertilization kickstarts the growing season by replenishing soil nutrients depleted over winter.
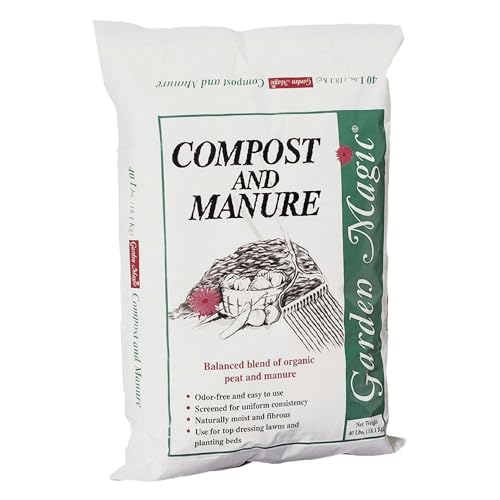
Select a balanced, slow-release fertilizer formulated for spring application. Organic options like compost, fish emulsion, and bone meal provide steady nutrient delivery without chemical buildup. Apply fertilizer techniques systematically: distribute granular formulations evenly across the soil surface, maintaining a 6-inch distance from plant stems to prevent burn. For liquid fertilizers, dilute according to package instructions and apply directly to moist soil during early morning or evening hours.
Water thoroughly after application to activate nutrients and facilitate root absorption, ensuring ideal nutrient uptake throughout the growing season.


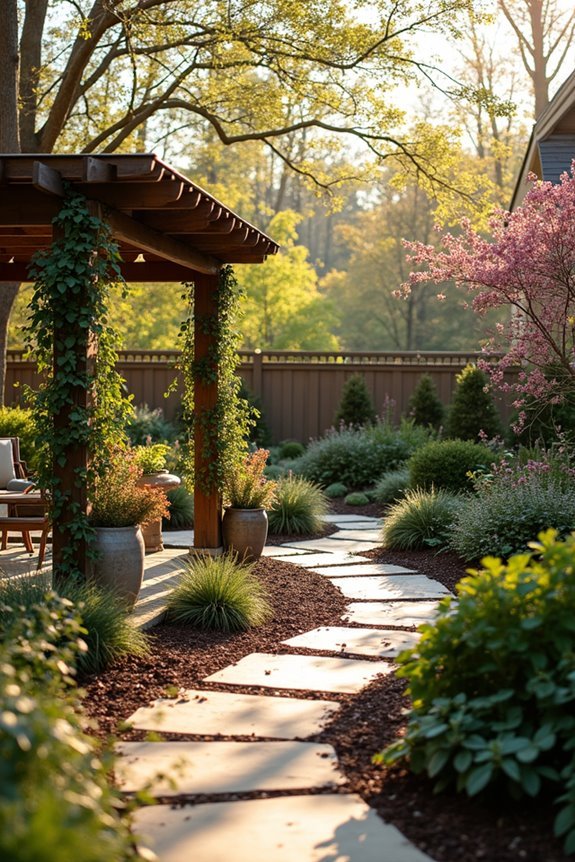
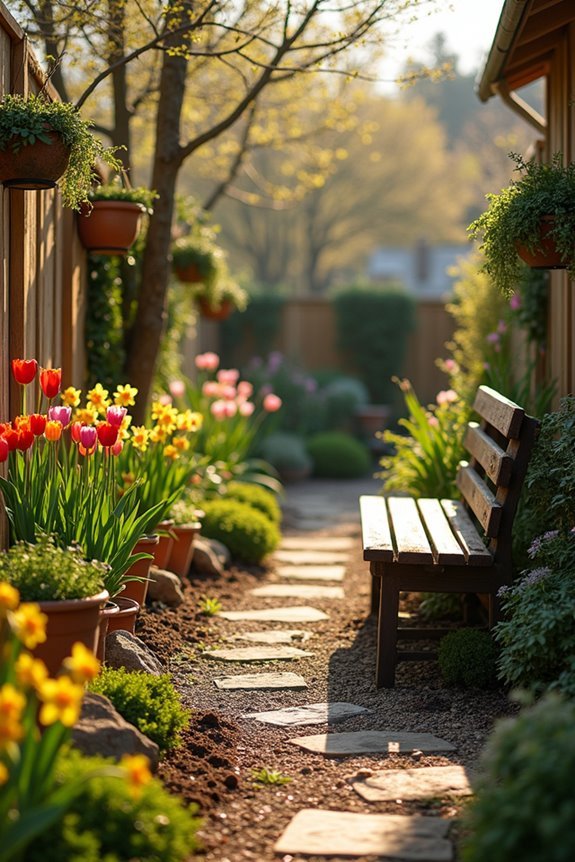
Install Garden Edging Borders
Garden edging borders serve multiple functions—they define planting beds, prevent soil erosion, suppress weed encroachment, and create clean aesthetic lines throughout your landscape. You’ll find numerous material options to suit your design preferences and budget. Metal edging offers durability and a contemporary look, while composite materials provide longevity without maintenance demands. Stone or brick edging delivers classic elegance and blends seamlessly with traditional gardens. Plastic edging remains budget-friendly and lightweight, though less durable long-term.
When installing garden edging, you’ll want to measure your bed perimeters carefully and mark installation lines. Position the edging material firmly against soil, securing it with stakes or landscape fasteners. Guarantee proper depth—typically 2-4 inches—to effectively contain soil and suppress weeds. This systematic approach creates defined boundaries that enhance your landscape’s visual organization while establishing a professional appearance as spring progresses.


Set Up Rain Barrels
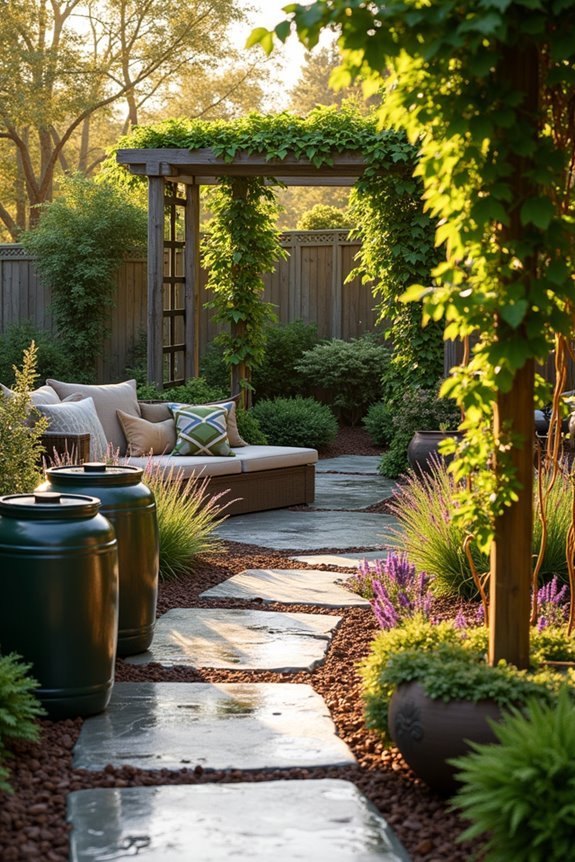
With your garden beds now properly defined and contained, you’ll want to capture and conserve the water that naturally falls on your property. Installing rain barrels is a practical approach to rainwater collection that reduces your municipal water dependency while supporting sustainable gardening practices.
Position barrels beneath downspouts to maximize collection efficiency. Select food-grade containers with tight-fitting lids to prevent debris and mosquito breeding. Install a spigot near the base for easy access and implement an overflow valve to direct excess water away from your foundation.
Integrate collected rainwater into your irrigation system during dry periods. This approach conserves resources, reduces utility costs, and provides chlorine-free water that many plants prefer. Properly maintained rain barrels become essential infrastructure for year-round landscape management.


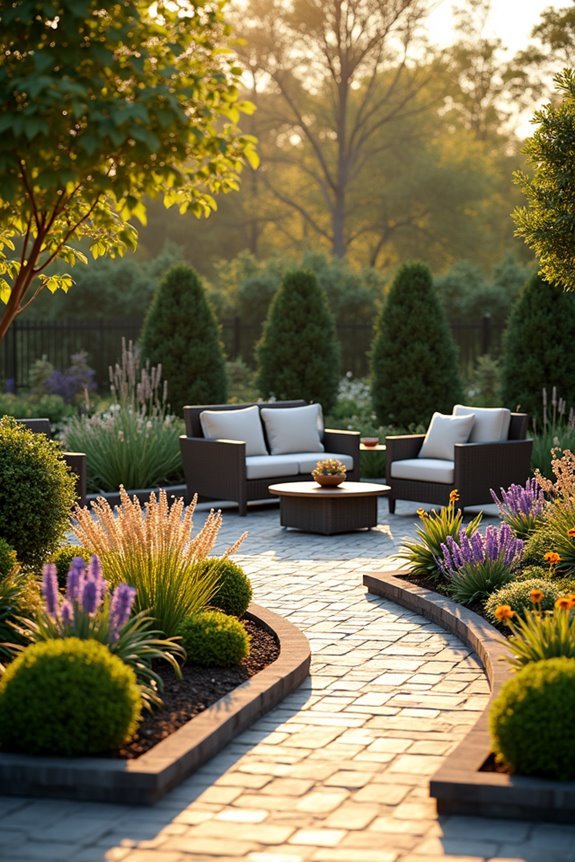
Install Pollinator-Friendly Plants
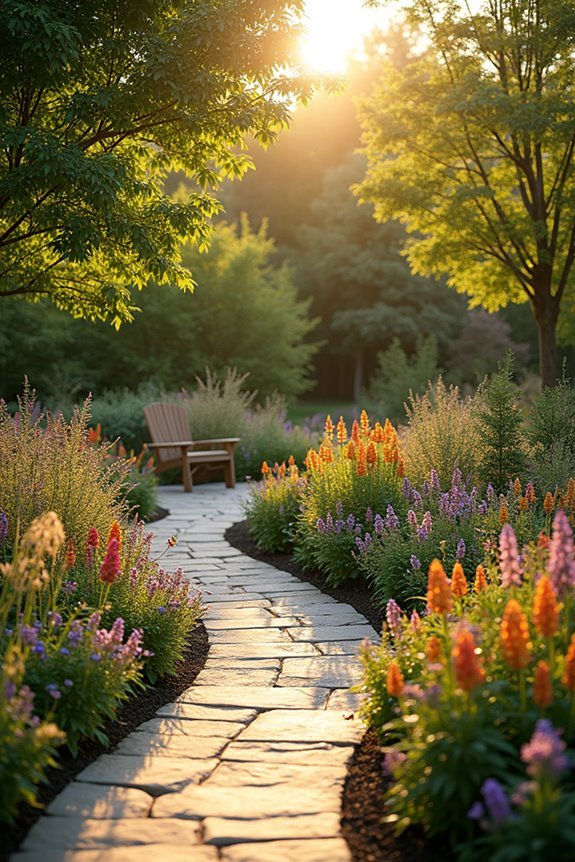
As you’ve established water management systems, you’ll now enhance your garden’s ecological value by cultivating plants that attract and support pollinators. Focus on native flower selection to create ideal pollinator habitat enhancement across your outdoor space.
Research indigenous flowering species suited to your region’s climate and soil conditions. Select plants with staggered blooming periods to guarantee consistent nectar and pollen availability throughout growing seasons. Prioritize varieties that appeal to bees, butterflies, and hummingbirds—your primary pollinators.
Arrange plants in clusters of similar species, facilitating efficient foraging. Incorporate diverse flower shapes and colors, as different pollinator species demonstrate distinct preferences. Eliminate pesticide applications that compromise pollinator health.
This systematic approach establishes a self-sustaining ecosystem while maximizing seasonal visual interest and supporting biodiversity in your landscape.


Create Butterfly and Bee Stations
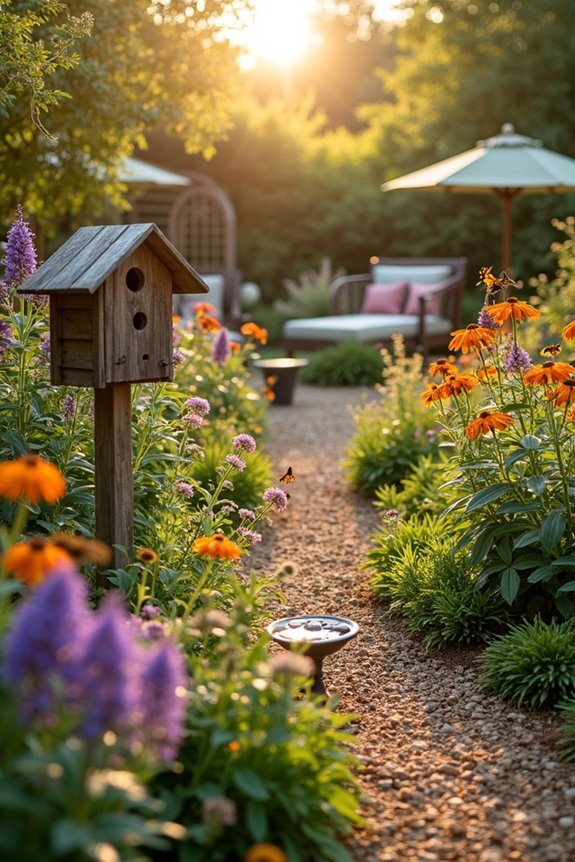
Once you’ve established your pollinator-friendly plantings, you’ll strengthen their ecological function by installing dedicated stations that provide essential resources beyond nectar and pollen. Create butterfly habitats by incorporating host plants—milkweed species specifically—where butterflies lay eggs and caterpillars feed. Position shallow water sources with pebbles or sand for safe landing zones.
For bee-friendly flowers, cluster blooms in groups of three or more to enhance visibility and foraging efficiency. Install bee houses using untreated wood with varying hole diameters to accommodate different native bee species. Provide mineral-rich mud sources near water features, as bees require minerals for colony development.
Position stations throughout your yard, spacing them strategically to create continuous resource corridors. This systematic approach maximizes pollinator productivity while establishing sustainable seasonal habitats.